Goal
This guide walks you from account creation to your first monitored application. It assumes you have at least one public hostname that you own.
Preparation checklist
- A hostname you control, for example
example.com. - Access to DNS or web server configuration for verification.
- A list of paths you want to monitor, such as
/loginor/healthz.
Step-by-step
-
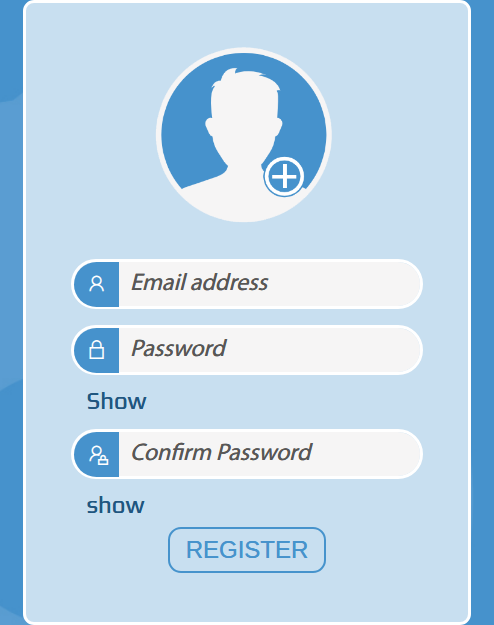
Create an account.
Go to the sign up page, confirm your email if prompted, and sign in.
-
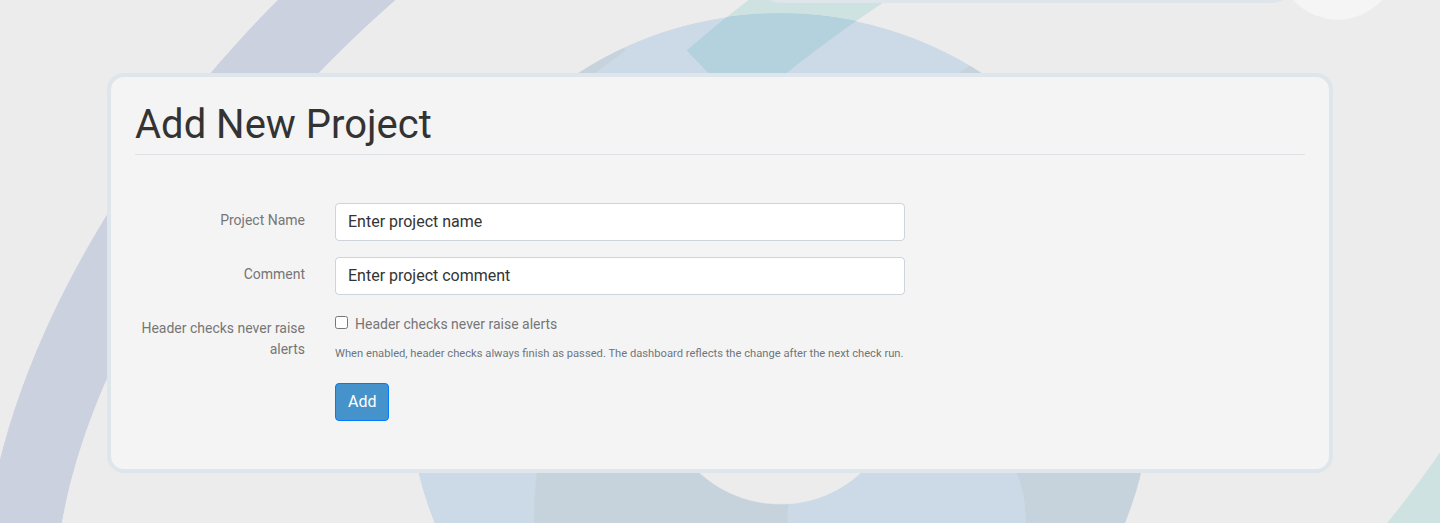
Create your first project.
Projects define ownership, billing, and access. Give it a clear name such as "Acme Production".
-
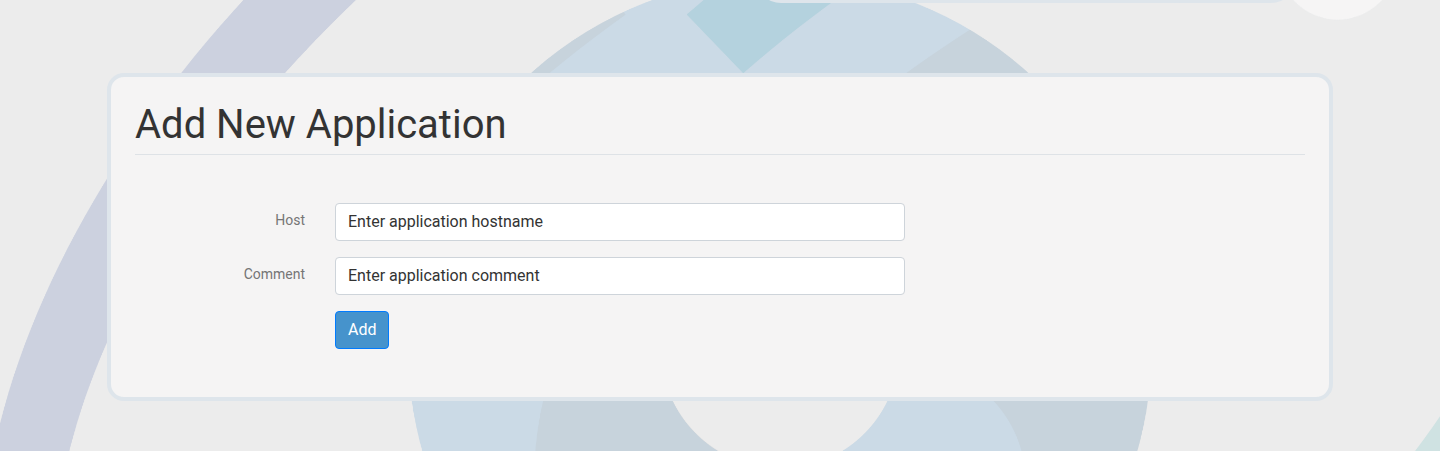
Add an application hostname.
Create a single application or use bulk add for multiple hosts.
-
Verify ownership.
Choose a verification method (secret, DNS TXT, or well-known path) and complete the challenge.
-
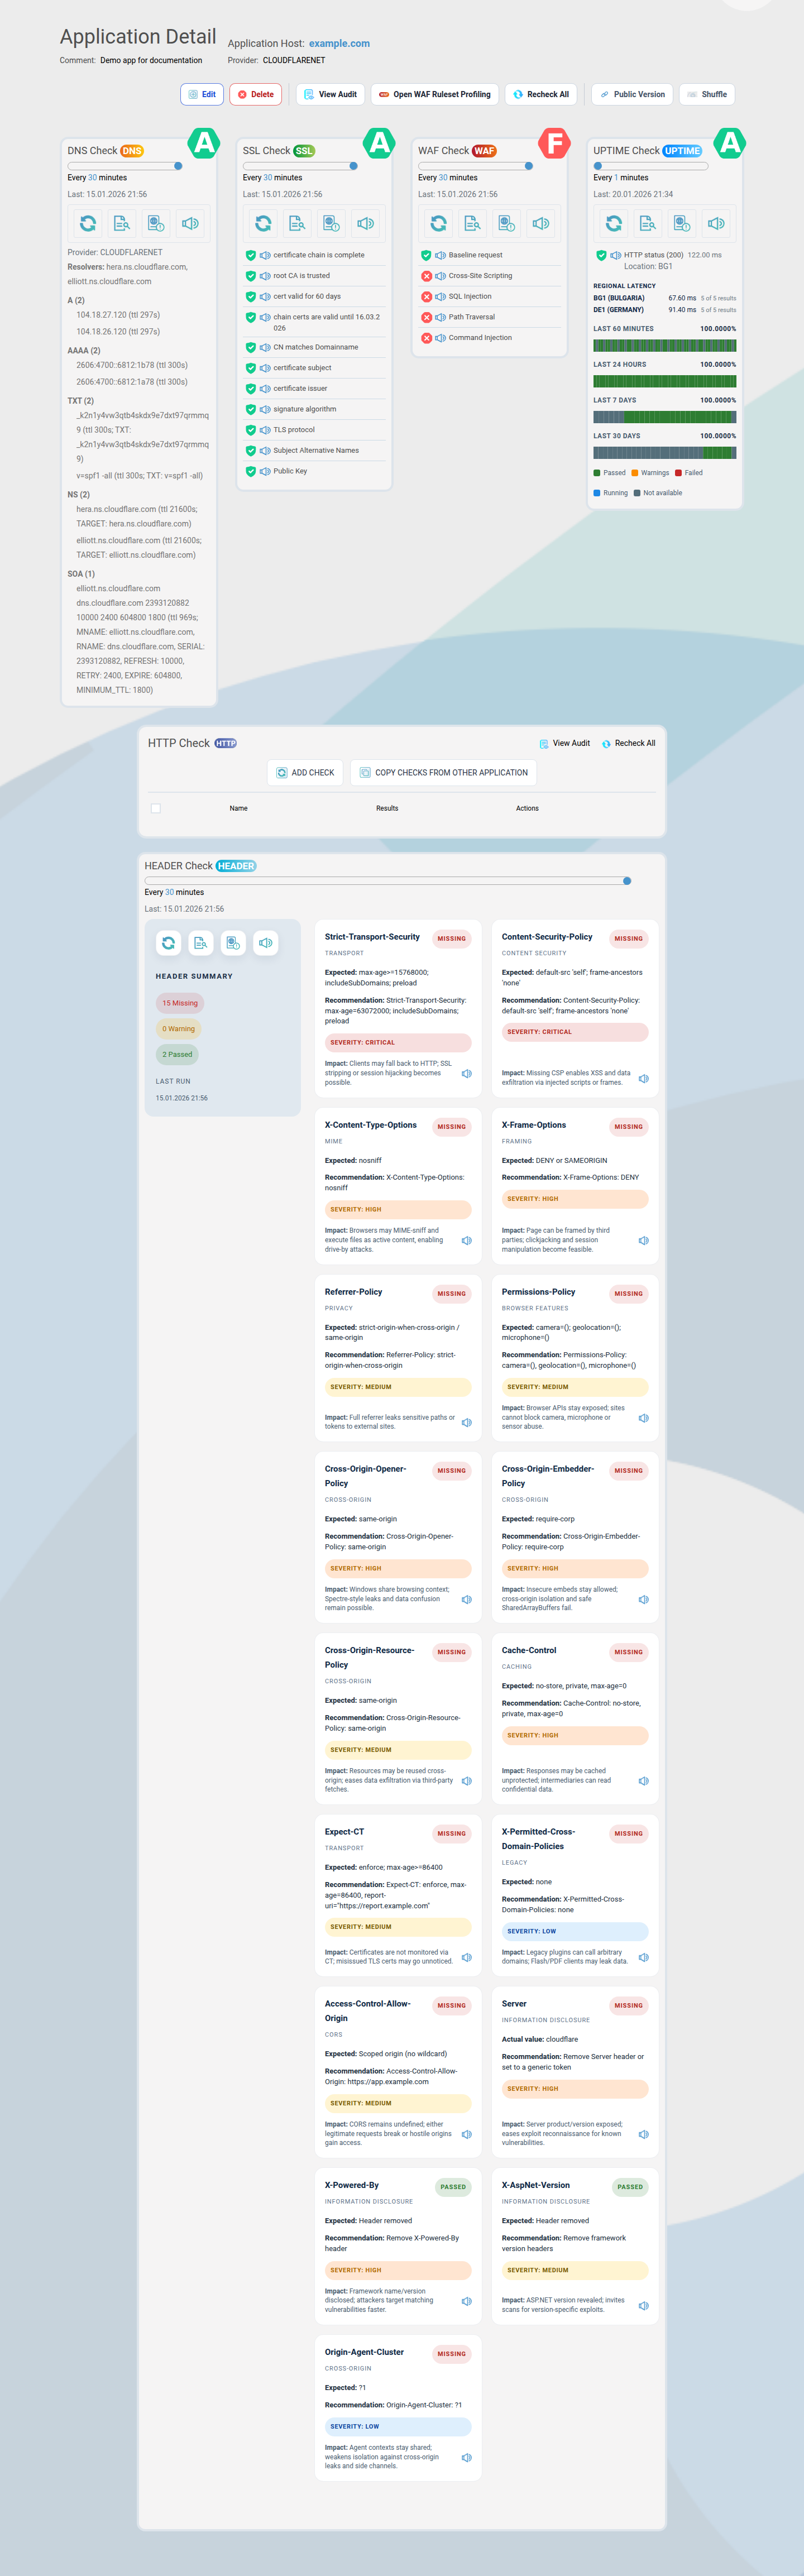
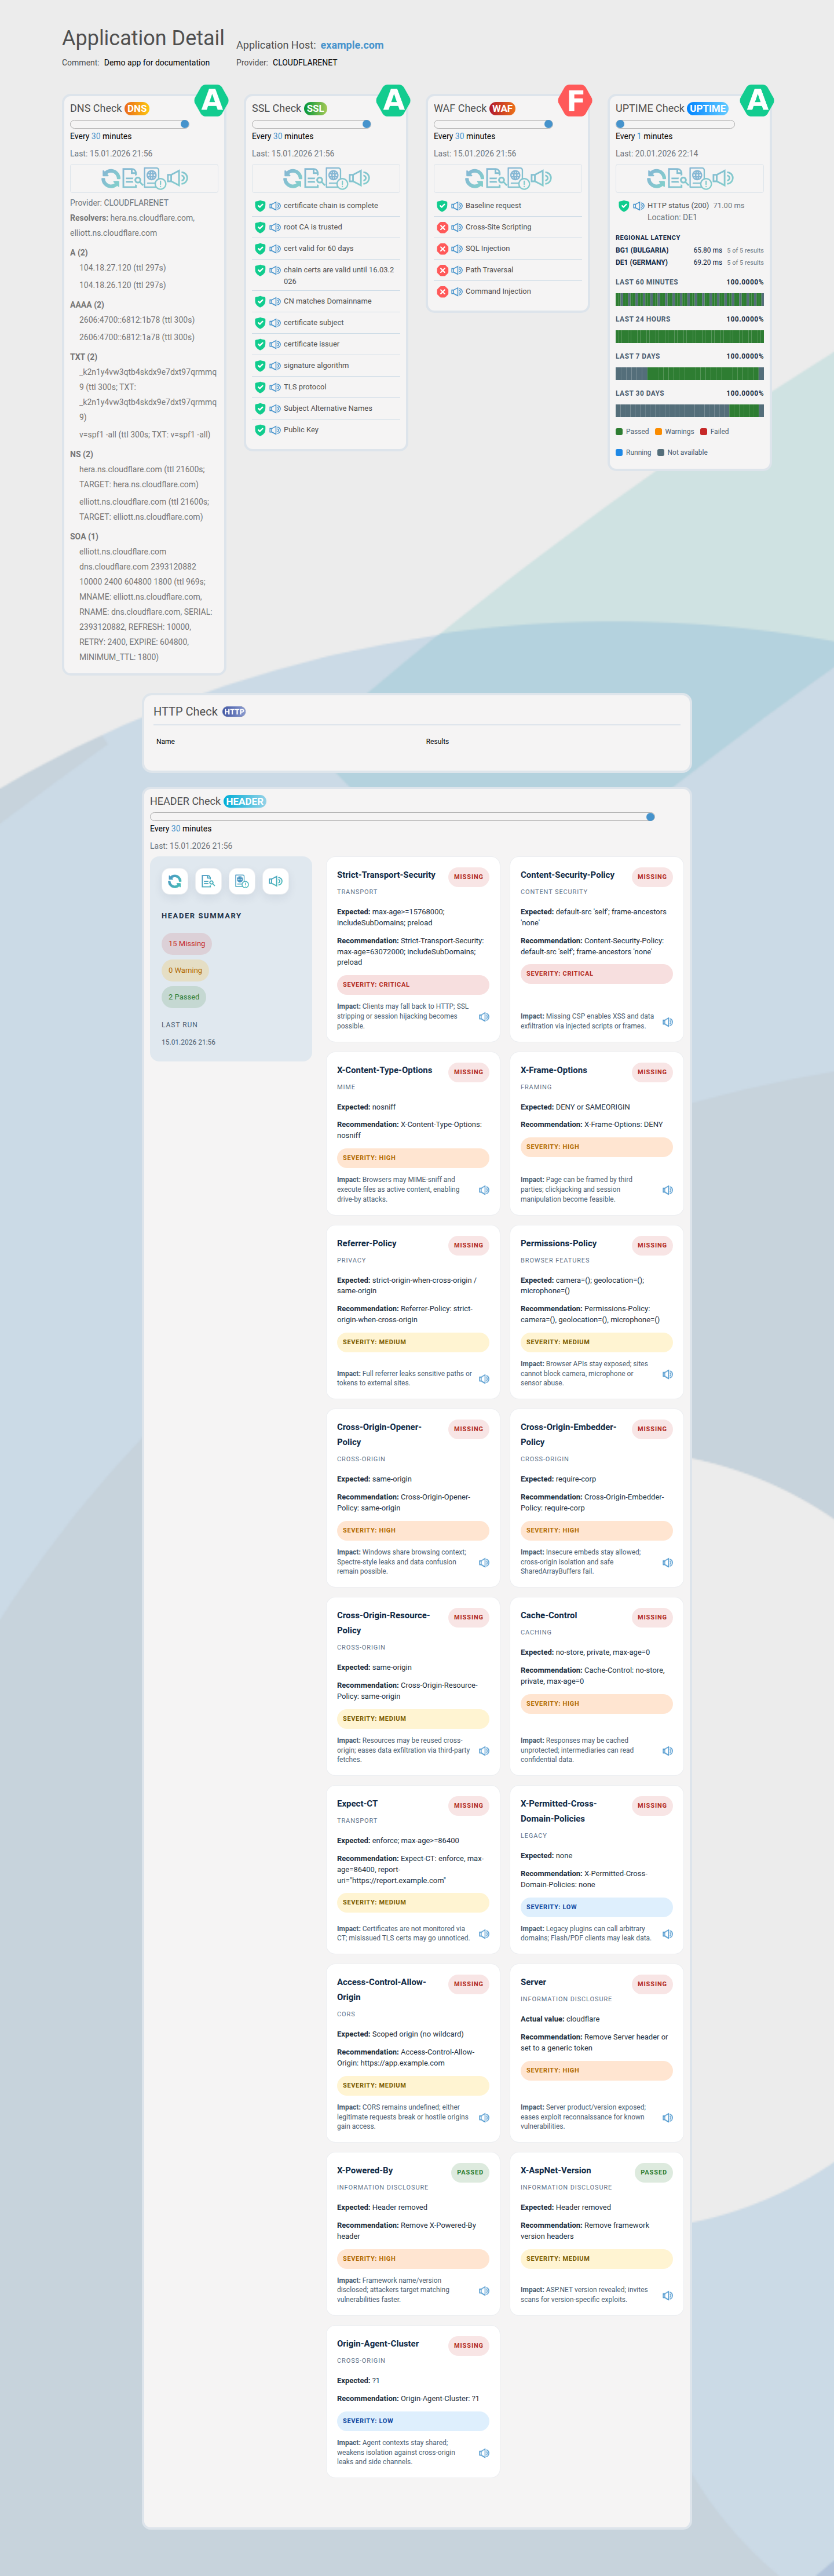
Review default checks.
WAFDOG creates default checks for each application. Review them and run a manual recheck if needed.
-
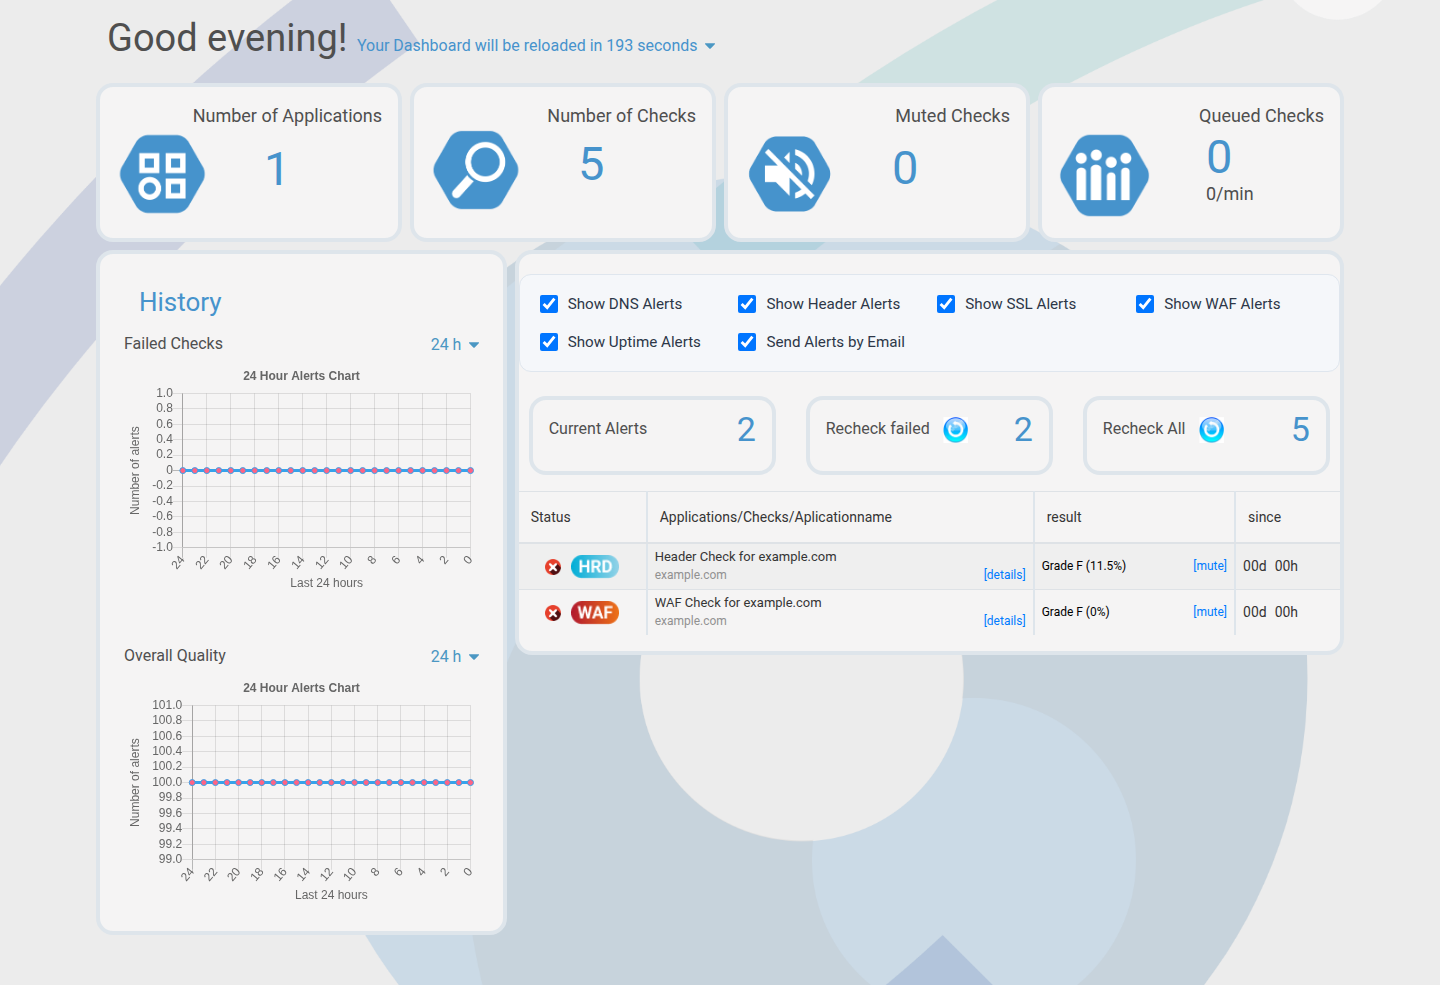
Inspect the dashboard.
The dashboard shows health, alerts, and trends for the active project.
-
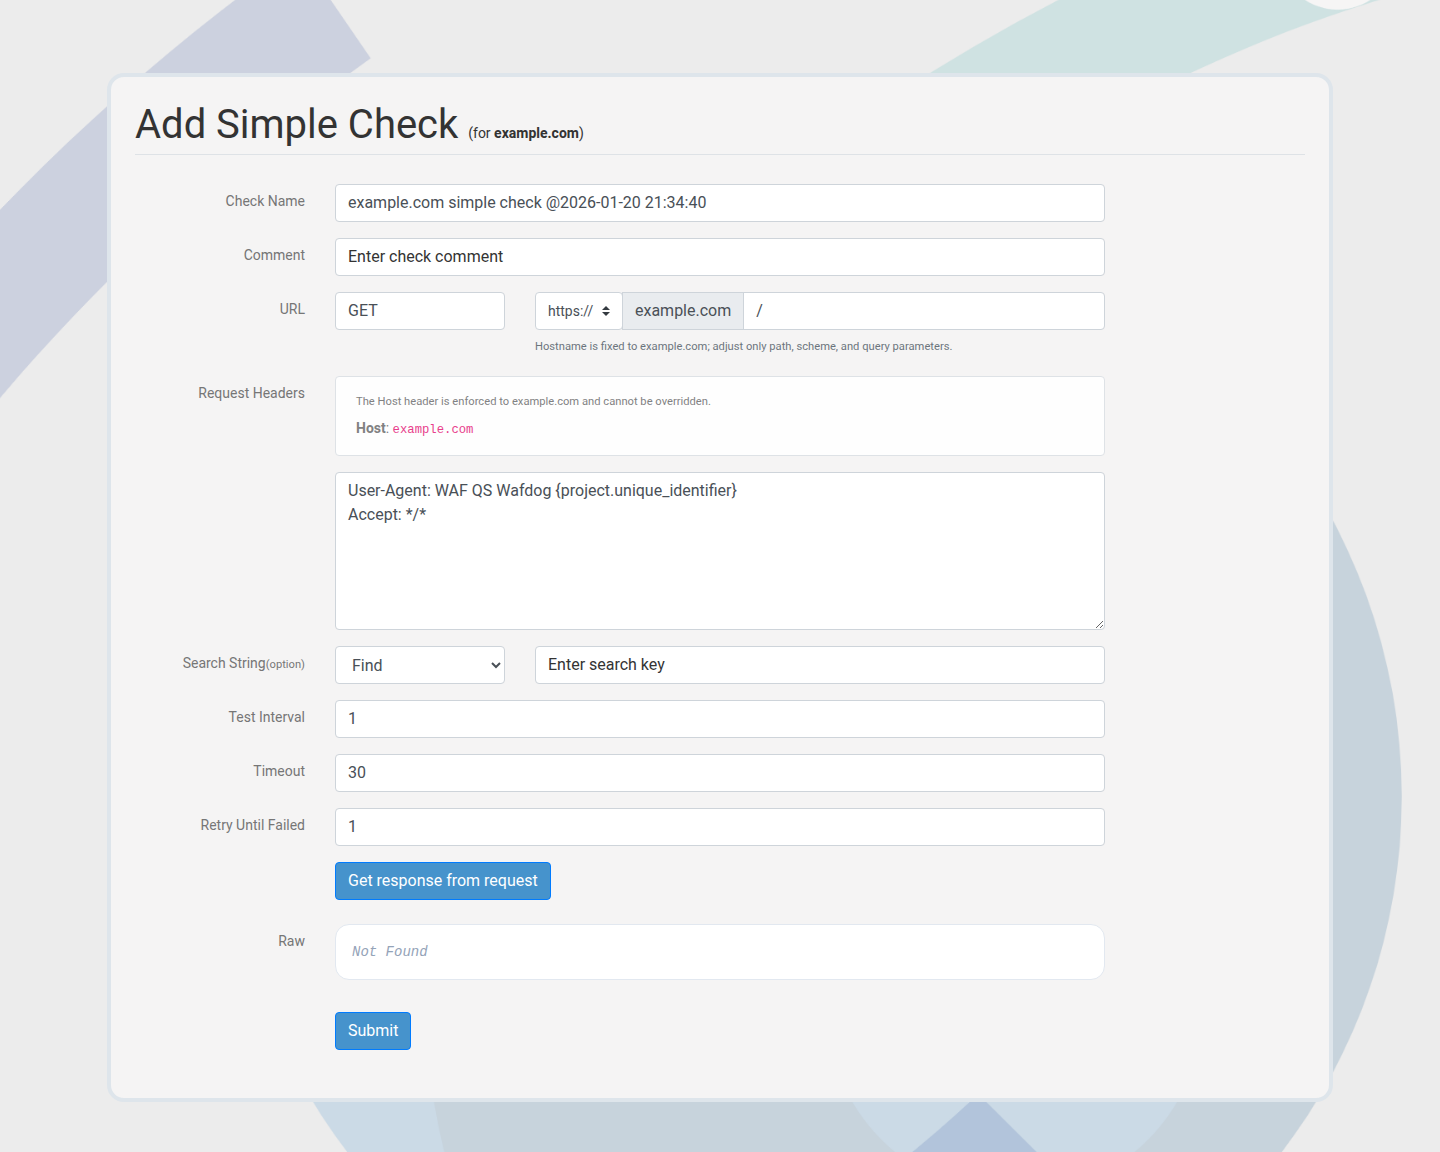
Add a custom check.
Create a Simple HTTP check for a critical endpoint, then tune the interval.
-
Enable alerts.
Use the dashboard toggle to receive alerts by email when checks fail.
-
Share status when needed.
Generate a public share link for stakeholders without logins.
Success criteria
- You can switch between projects using the selector.
- Your application shows as verified.
- Default checks return results.
- Email alerts are enabled for the project.
If any step fails, check Troubleshooting for common fixes.